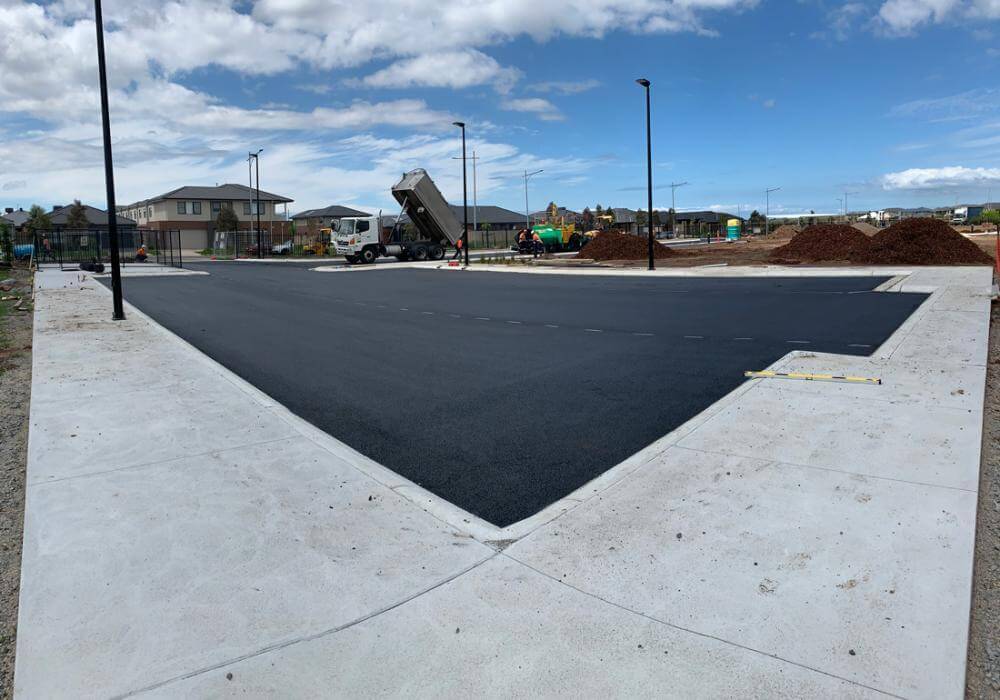
Perfect asphalting is a critical component of constructing durable and safe roads, driveways, and parking lots. Achieving a high-quality asphalt surface involves meticulous planning, proper material selection, and precise execution. This article will guide you through the essential steps to achieve perfect asphalting, from site preparation to the final compaction.

1. Site Preparation
Initial Assessment and Planning
- Site Inspection: Conduct a thorough site inspection to identify any potential issues, such as drainage problems, existing utilities, and soil conditions.
- Design and Layout: Plan the design and layout of the asphalt surface, considering factors like traffic patterns, load requirements, and aesthetic preferences.
- Permits and Regulations: Obtain necessary permits and ensure compliance with local regulations and standards, including the National Construction Code (NCC) and AS 2150-2005.
Clearing and Grading
- Vegetation Removal: Clear the site of any vegetation, debris, and old structures. Use machinery like bulldozers and chainsaws to remove trees, shrubs, and undergrowth.
- Grading: Grade the site to achieve the desired slope and level. Proper grading ensures effective drainage and prevents water pooling on the asphalt surface.
2. Sub-Base and Base Layer Installation
Sub-Base Preparation
- Material Selection: Choose suitable sub-base materials, such as crushed stone or gravel, which provide a stable foundation for the asphalt.
- Spreading and Compaction: Spread the sub-base material evenly and compact it using rollers to achieve the desired density and stability. Ensure compliance with AS 3798-2007 guidelines on earthworks.
Base Layer Construction
- Adding the Base Layer: Place the base layer material, typically asphalt or concrete, over the compacted sub-base. This layer provides additional stability and load-bearing capacity.
- Levelling and Compaction: Level and compact the base layer to create a smooth and stable surface for the asphalt top layer. Use rollers to ensure proper compaction and eliminate air pockets.
3. Asphalt Mix Preparation
Material Selection
- Quality Aggregates: Select high-quality aggregates that meet the specifications for the project. The choice of aggregates affects the durability and performance of the asphalt.
- Bitumen Selection: Choose the appropriate grade of bitumen based on the climate and load requirements. The bitumen acts as a binding agent, providing flexibility and strength to the asphalt mix.
Mixing Process
- Batch Plant Mixing: Use a batch plant to mix the aggregates and bitumen in precise proportions. The mixing process must be carefully controlled to ensure a consistent and homogenous asphalt mix.
- Temperature Control: Maintain the asphalt mix at the optimal temperature during mixing and transportation to prevent premature cooling and segregation.

4. Asphalt Laying
Equipment and Machinery
- Pavers: Use asphalt pavers to lay the asphalt mix evenly and accurately. Modern pavers come with advanced features like automatic grade control and screed heating.
- Compactors: Employ compactors, such as rollers, to compact the asphalt mix and achieve the desired density and smoothness.
Laying Process
- Spreading the Asphalt: Spread the asphalt mix evenly across the prepared base layer using pavers. Ensure that the thickness of the asphalt layer is consistent and meets the project specifications.
- Joint Construction: Pay special attention to constructing joints between asphalt lanes. Proper joint construction prevents cracks and ensures a seamless surface.
5. Compaction
Initial Rolling
- Breakdown Rolling: Start the compaction process with breakdown rolling using a steel-wheeled roller. This initial rolling helps to eliminate air voids and achieve initial density.
- Intermediate Rolling: Follow up with intermediate rolling using a pneumatic roller. This step enhances the density and smoothness of the asphalt surface.
Final Rolling
- Finish Rolling: Complete the compaction process with finish rolling using a steel-wheeled roller. This final rolling step provides a smooth and even surface texture.
- Density Testing: Conduct field density tests to ensure that the asphalt meets the required compaction standards. Compliance with AS 2150-2005 ensures high-quality asphalt surfaces.
6. Finishing Touches
Surface Sealing
- Seal Coating: Apply a seal coat to the asphalt surface to protect it from weathering, UV radiation, and chemical spills. Seal coating enhances the durability and lifespan of the asphalt.
Marking and Signage
- Pavement Markings: Add pavement markings, such as lane lines, crosswalks, and parking spaces, to improve safety and navigation.
- Signage Installation: Install appropriate signage to guide traffic and enhance safety. This includes speed limits, directional signs, and warning signs.
Conclusion
Achieving perfect asphalting requires careful planning, precise execution, and adherence to industry standards. By following these steps and utilizing the right equipment and materials, you can create a durable and high-quality asphalt surface that meets the needs of your project. Remember, attention to detail and compliance with regulations like the NCC and AS 3798-2007 are key to successful asphalting. Safe Digging Services exemplifies these principles, ensuring every asphalt project is completed to the highest standards


